Why Bathrooms Are the Hardest Room to Keep Clean (And What the Pros Do Differently)
Bathroom cleaning tips from professional cleaners can make a genuine difference in how long your results last, how much effort you put in, and whether your bathroom is actually hygienic — not just surface-level tidy.
Here are the core professional principles, fast:
- Clean top to bottom — dust and debris fall downward, so start at ceiling vents and work toward the floor
- Dry before wet — dust and vacuum first, then apply liquid cleaners to avoid streaky paste
- Use dwell time — spray surfaces and let cleaners sit 5-15 minutes before scrubbing
- Microfiber over paper towels — fold cloths into quarters for 8 clean surfaces per cloth
- Tackle the overlooked spots — toilet hinges, exhaust fans, floor base around the toilet, and door frames
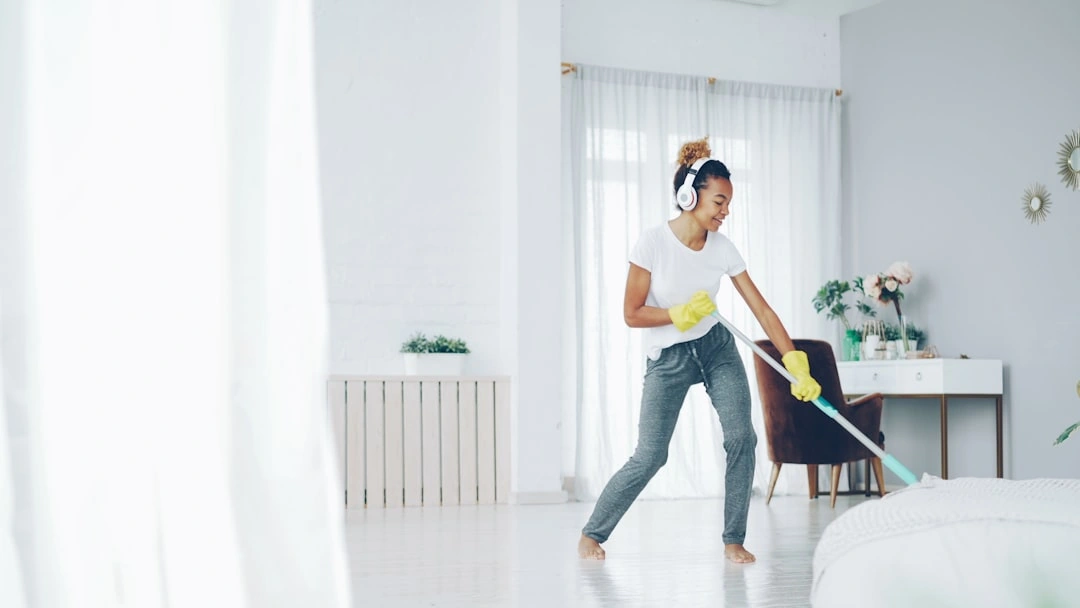
- Maintain daily habits — squeegee shower walls, run the exhaust fan, and wipe down surfaces to prevent buildup
- Use natural solutions that work — white vinegar, baking soda, and hydrogen peroxide handle most bathroom grime effectively
Bathrooms are warm, damp, and used multiple times a day. That combination makes them one of the fastest rooms in the house to collect soap scum, hard water deposits, mold, and bacteria. And because most of the buildup hides in grout lines, under toilet seats, and around faucet bases, a quick wipe-down rarely cuts it.
The good news? Professional cleaners don't rely on magic products. They rely on the right sequence, the right dwell time, and a few simple tools most people already own. Cleaning a bathroom properly can take anywhere from 30 minutes to over two hours depending on its condition — but with a pro workflow, you spend less time scrubbing and more time actually finishing.
Whether you're tackling a weekly maintenance clean or a full spring reset, this guide walks you through exactly how the pros do it.

Essential Supplies and Bathroom Cleaning Tips from Professional Cleaners
When we step into a home in Castle Rock or Denver, we don’t bring a thousand different chemicals. We bring a curated caddy of high-performance basics. The "magic" of professional cleaning is 90% technique and 10% having the right tools on hand.
To clean like a ninja, your kit should include:
- Microfiber cloths: These are engineered to grab dust rather than push it around.
- Squeegee: Essential for glass doors and tile walls to prevent soap scum from ever forming.
- Baking soda and White vinegar: The dynamic duo for lifting stains and dissolving limescale.
- Hydrogen peroxide: A safe, effective way to whiten grout and kill mold spores.
- Pumice stone: Used gently and while wet, this is the only way to remove that stubborn "ring" inside a porcelain toilet bowl.
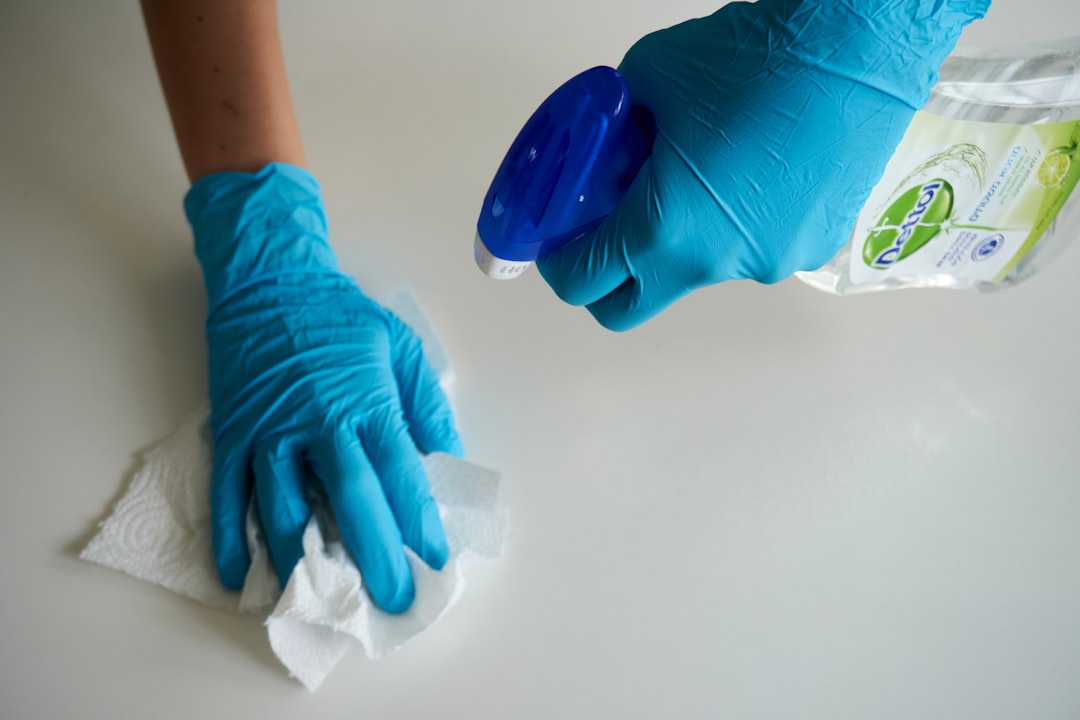
- EPA-registered disinfectants: Necessary for high-touch areas like flush handles and faucets to ensure you’re actually killing germs, not just moving them.
For those dealing with deep-set issues, check out our guide on Stubborn Bathroom Stains Professional Solutions.
Eco-Friendly DIY Solutions Pros Actually Use
You don't need harsh fumes to get a "squeaky clean" finish. We often find that natural solutions are just as effective as commercial ones. A 50/50 mix of white vinegar and water is the gold standard for streak-free mirrors. For heavy-duty scrubbing, a baking soda paste (mixed with a little water or dish soap) acts as a non-scratch abrasive for tubs and sinks.
If you're dealing with rust or heavy scum, a lemon half dipped in salt acts as a natural "scrubber" that smells amazing and cuts through mineral deposits effortlessly.
The Power of Microfiber Management
One of the best bathroom cleaning tips from professional cleaners involves "microfiber management." We color-code our cloths—blue for glass, yellow for counters, and red for toilets—to prevent cross-contamination.
Pro Tip: Fold your microfiber cloth in half, then half again. This gives you eight clean "faces" to work with. Once one side is dirty, flip to a fresh one. This ensures you are always wiping with a clean surface rather than smearing grime back onto the vanity.
The Professional Workflow: Top-to-Bottom and Dry-to-Wet
In the cleaning industry, efficiency is king. We follow a strict "gravity-based" workflow. If you clean the floors first and then dust the ceiling fan, you’ve just ruined your hard work.
Always start high. Dust the ceiling corners for cobwebs, then move to the exhaust fan and light fixtures. Next, tackle the mirrors and countertops. Finally, finish with the floors.
The "Dry-to-Wet" rule is equally important. Always vacuum or dry-dust surfaces before applying liquid cleaners. If you spray a dusty baseboard with water, you create a "streaky paste" that is twice as hard to remove. For more on the sequence of a thorough home reset, see What Happens During Professional Deep House Clean.
Maximizing Efficiency with Bathroom Cleaning Tips from Professional Cleaners
The secret to less scrubbing is "dwell time." Professionals spray the shower, tub, and toilet first, then walk away to do another task—like emptying the trash or cleaning the mirrors. Letting the product sit for 10–15 minutes allows the chemicals (or vinegar) to break down the molecular bonds of soap scum and minerals. By the time you come back, the grime should practically wipe away.
Minimizing Physical Strain and Bending
Cleaning six houses a day in the Denver Metro Area requires us to protect our backs. To clean like a pro without the aches, use long-handled brushes for the tub and floor. Stage your supplies at waist height (on the counter or a stool) so you aren't constantly reaching for the floor. Small ergonomic shifts make a huge difference in how you feel after a 2-hour deep clean.
Deep Cleaning Specific Fixtures for a Ninja-Level Shine
Every fixture requires a different approach. You wouldn't use the same technique on a delicate copper sink that you would on a porcelain toilet.
Mastering the Toilet and Shower with Bathroom Cleaning Tips from Professional Cleaners
- The Showerhead: If your water pressure is low, it’s likely limescale. Secure a bag of vinegar around the showerhead with a rubber band and let it soak for two hours. The minerals will dissolve, and the water will flow like new.
- The Toilet: Don't just scrub the bowl. Professionals remove the entire toilet seat (it’s usually just two plastic bolts) to clean the "hidden" grime in the hinges. This is where most bathroom odors actually live.
- The "Steam Method": Before cleaning shower tiles, run the shower on its hottest setting for 10 minutes to let the steam loosen the grime. It makes scrubbing 50% easier.
If you hit a wall with specific grime, our resource on Common Deep Cleaning Problems Solved can help.
Polishing Mirrors and Sinks to a Streak-Free Finish
For mirrors, avoid circular motions. Professionals use an "S-pattern" wipe, starting at the top and snaking down to the bottom. This prevents re-depositing lint.
Don't forget the "overflow" hole in your sink. It’s a dark, damp tunnel that often grows mold and causes weird smells. Pour a little baking soda and vinegar down there to keep it fresh. While you're at it, check out how these techniques translate to other areas in our guide on Kitchen Deep Cleaning for Spotless Homes.
Maintenance Schedules and Common Mistakes to Avoid
Consistency is the enemy of buildup. If you wait until you see mold to clean, you’ve waited too long.
| Frequency | Task | Benefit |
|---|---|---|
| Daily | Squeegee shower, run fan 30 min, wipe sink | Prevents soap scum and mold |
| Weekly | Disinfect toilet, scrub tub, mop floor | Keeps bacteria levels safe |
| Monthly | Descale showerhead, wash curtain liner | Maintains water flow and hygiene |
| Seasonally | Clean exhaust fan, seal grout | Protects home value and air quality |
Common Cleaning Blunders to Avoid
The biggest mistake? Mixing bleach with ammonia or vinegar. This creates toxic gases that are incredibly dangerous in a small, enclosed space like a bathroom. Always read labels.
Another mistake is using abrasive green pads on chrome or glass. They can leave permanent scratches. Stick to non-scratch sponges or microfiber. Lastly, never skip the exhaust fan. If the fan is clogged with dust, moisture stays in the room, and mold will grow, no matter how much you scrub.
Overlooked Spots the Pros Never Miss
If you want your bathroom to truly feel "ninja-clean," look at the spots most people ignore:
- The very back of the toilet base: Dust and "splatter" collect here and cause odors.
- Door frames and light switches: These are high-touch areas that harbor oils and germs.
- The exhaust fan cover: A dusty vent is a fire hazard and a mold-maker.
- The sink stopper: Pull it out once a month to remove the hair and "gunk" that slows your drain.
Frequently Asked Questions about Professional Bathroom Cleaning
How do professionals remove stubborn hard water stains?
We use acidity. White vinegar or citric acid solutions are the best for dissolving calcium and magnesium deposits. For glass doors with heavy "fogging," we sometimes use a razor scraper (held at a 45-degree angle on a wet surface) to gently shave off the mineral crust.
How long should I let cleaning products sit on surfaces?
Standard dwell time is 10 minutes for disinfection. If you are trying to remove heavy soap scum, 15 to 20 minutes is better. Just make sure the surface stays wet; if the cleaner dries, it won't work as well.
Why does my bathroom still smell after a deep clean?
Check three places: the floor around the base of the toilet (urine splatter), the sink overflow hole (mold), and the shower curtain. If you have a fabric curtain, it can trap musty odors. Toss it in the wash with a cup of vinegar to reset it.
Conclusion
Tackling a bathroom like a pro isn't about working harder; it's about working smarter. By following the top-to-bottom, dry-to-wet workflow and respecting "dwell time," you can achieve a level of cleanliness that usually requires a professional team.
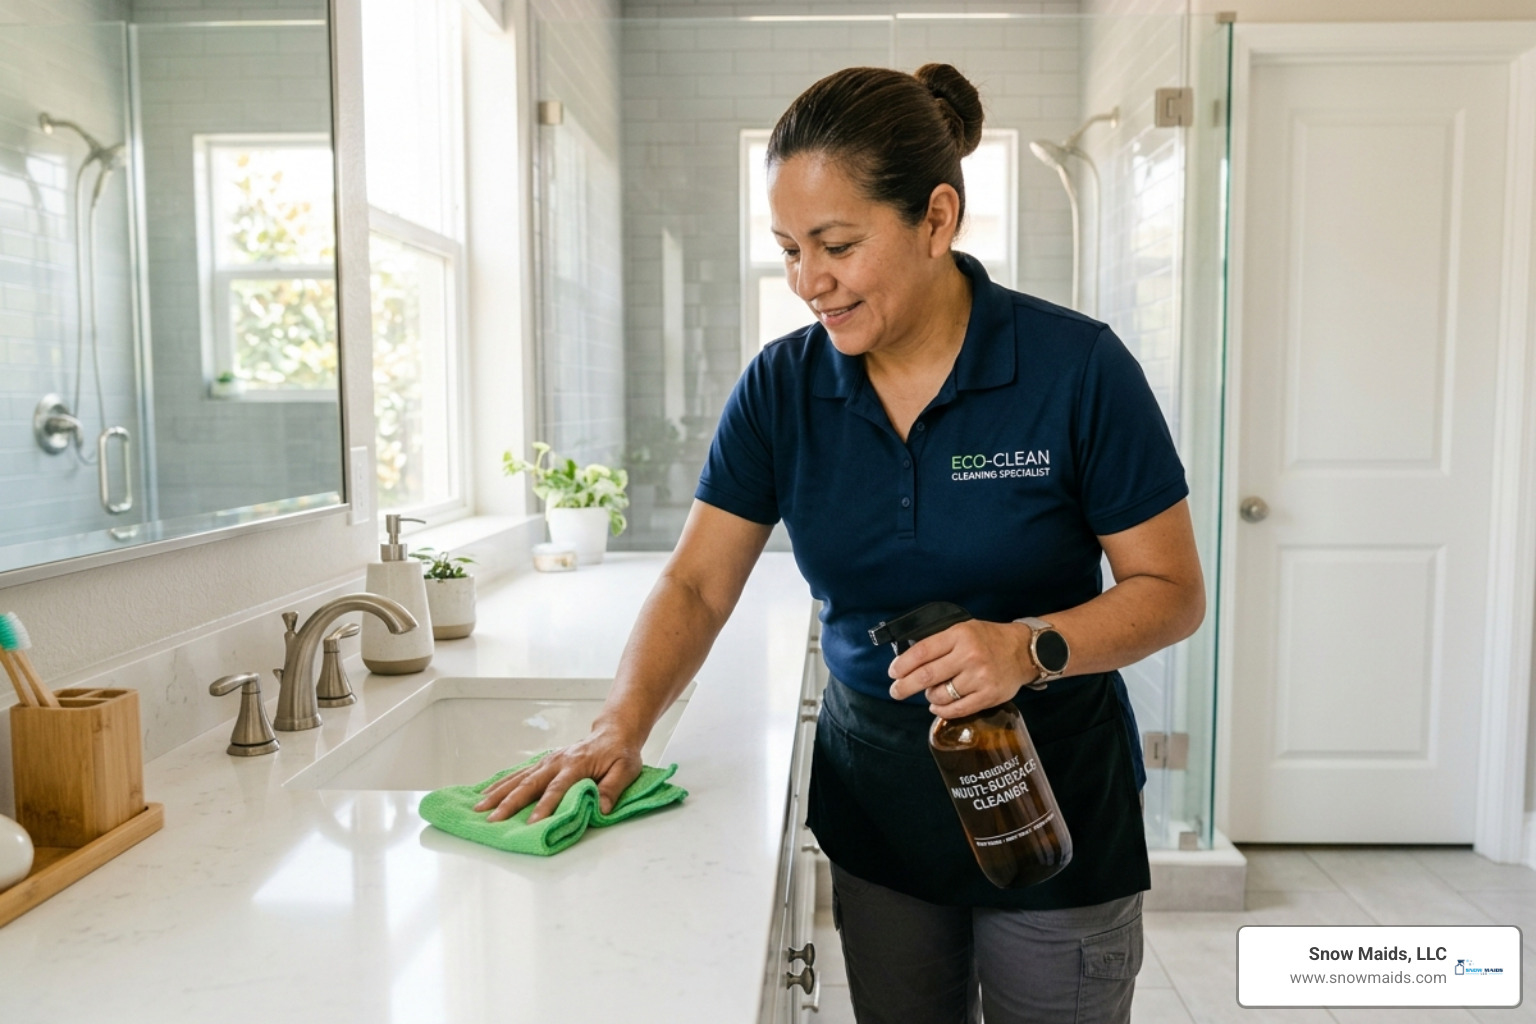
At Snow Maids, LLC, we take pride in providing these "squeaky cleanings" to our neighbors in Castle Rock, Parker, Highlands Ranch, and across the Denver Metro Area. We know your time is valuable, and our mission is to give it back to you by handling the deep scrubbing so you can enjoy a healthy, refreshing home.
If you're ready for a total home reset without lifting a finger, explore our options for Deep Cleaning. Whether you're in Littleton, Centennial, or Lone Tree, we’re here to make your space sparkle.
Why Bathrooms Are the Hardest Room to Keep Clean (And What the Pros Do Differently)
Bathroom cleaning tips from professional cleaners can make a genuine difference in how long your results last, how much effort you put in, and whether your bathroom is actually hygienic — not just surface-level tidy.
Here are the core professional principles, fast:
- Clean top to bottom — dust and debris fall downward, so start at ceiling vents and work toward the floor
- Dry before wet — dust and vacuum first, then apply liquid cleaners to avoid streaky paste
- Use dwell time — spray surfaces and let cleaners sit 5-15 minutes before scrubbing
- Microfiber over paper towels — fold cloths into quarters for 8 clean surfaces per cloth
- Tackle the overlooked spots — toilet hinges, exhaust fans, floor base around the toilet, and door frames
- Maintain daily habits — squeegee shower walls, run the exhaust fan, and wipe down surfaces to prevent buildup
- Use natural solutions that work — white vinegar, baking soda, and hydrogen peroxide handle most bathroom grime effectively
Bathrooms are warm, damp, and used multiple times a day. That combination makes them one of the fastest rooms in the house to collect soap scum, hard water deposits, mold, and bacteria. And because most of the buildup hides in grout lines, under toilet seats, and around faucet bases, a quick wipe-down rarely cuts it.
The good news? Professional cleaners don't rely on magic products. They rely on the right sequence, the right dwell time, and a few simple tools most people already own. Cleaning a bathroom properly can take anywhere from 30 minutes to over two hours depending on its condition — but with a pro workflow, you spend less time scrubbing and more time actually finishing.
Whether you're tackling a weekly maintenance clean or a full spring reset, this guide walks you through exactly how the pros do it.
Essential Supplies and Bathroom Cleaning Tips from Professional Cleaners
When we step into a home in Castle Rock or Denver, we don’t bring a thousand different chemicals. We bring a curated caddy of high-performance basics. The "magic" of professional cleaning is 90% technique and 10% having the right tools on hand.
To clean like a ninja, your kit should include:
- Microfiber cloths: These are engineered to grab dust rather than push it around.
- Squeegee: Essential for glass doors and tile walls to prevent soap scum from ever forming.
- Baking soda and White vinegar: The dynamic duo for lifting stains and dissolving limescale.
- Hydrogen peroxide: A safe, effective way to whiten grout and kill mold spores.
- Pumice stone: Used gently and while wet, this is the only way to remove that stubborn "ring" inside a porcelain toilet bowl.
- EPA-registered disinfectants: Necessary for high-touch areas like flush handles and faucets to ensure you’re actually killing germs, not just moving them.
For those dealing with deep-set issues, check out our guide on Stubborn Bathroom Stains Professional Solutions.
Eco-Friendly DIY Solutions Pros Actually Use
You don't need harsh fumes to get a "squeaky clean" finish. We often find that natural solutions are just as effective as commercial ones. A 50/50 mix of white vinegar and water is the gold standard for streak-free mirrors. For heavy-duty scrubbing, a baking soda paste (mixed with a little water or dish soap) acts as a non-scratch abrasive for tubs and sinks.
If you're dealing with rust or heavy scum, a lemon half dipped in salt acts as a natural "scrubber" that smells amazing and cuts through mineral deposits effortlessly.
The Power of Microfiber Management
One of the best bathroom cleaning tips from professional cleaners involves "microfiber management." We color-code our cloths—blue for glass, yellow for counters, and red for toilets—to prevent cross-contamination.
Pro Tip: Fold your microfiber cloth in half, then half again. This gives you eight clean "faces" to work with. Once one side is dirty, flip to a fresh one. This ensures you are always wiping with a clean surface rather than smearing grime back onto the vanity.
The Professional Workflow: Top-to-Bottom and Dry-to-Wet
In the cleaning industry, efficiency is king. We follow a strict "gravity-based" workflow. If you clean the floors first and then dust the ceiling fan, you’ve just ruined your hard work.
Always start high. Dust the ceiling corners for cobwebs, then move to the exhaust fan and light fixtures. Next, tackle the mirrors and countertops. Finally, finish with the floors.
The "Dry-to-Wet" rule is equally important. Always vacuum or dry-dust surfaces before applying liquid cleaners. If you spray a dusty baseboard with water, you create a "streaky paste" that is twice as hard to remove. For more on the sequence of a thorough home reset, see What Happens During Professional Deep House Clean.
Maximizing Efficiency with Bathroom Cleaning Tips from Professional Cleaners
The secret to less scrubbing is "dwell time." Professionals spray the shower, tub, and toilet first, then walk away to do another task—like emptying the trash or cleaning the mirrors. Letting the product sit for 10–15 minutes allows the chemicals (or vinegar) to break down the molecular bonds of soap scum and minerals. By the time you come back, the grime should practically wipe away.
Minimizing Physical Strain and Bending
Cleaning six houses a day in the Denver Metro Area requires us to protect our backs. To clean like a pro without the aches, use long-handled brushes for the tub and floor. Stage your supplies at waist height (on the counter or a stool) so you aren't constantly reaching for the floor. Small ergonomic shifts make a huge difference in how you feel after a 2-hour deep clean.
Deep Cleaning Specific Fixtures for a Ninja-Level Shine
Every fixture requires a different approach. You wouldn't use the same technique on a delicate copper sink that you would on a porcelain toilet.
Mastering the Toilet and Shower with Bathroom Cleaning Tips from Professional Cleaners
- The Showerhead: If your water pressure is low, it’s likely limescale. Secure a bag of vinegar around the showerhead with a rubber band and let it soak for two hours. The minerals will dissolve, and the water will flow like new.
- The Toilet: Don't just scrub the bowl. Professionals remove the entire toilet seat (it’s usually just two plastic bolts) to clean the "hidden" grime in the hinges. This is where most bathroom odors actually live.
- The "Steam Method": Before cleaning shower tiles, run the shower on its hottest setting for 10 minutes to let the steam loosen the grime. It makes scrubbing 50% easier.
If you hit a wall with specific grime, our resource on Common Deep Cleaning Problems Solved can help.
Polishing Mirrors and Sinks to a Streak-Free Finish
For mirrors, avoid circular motions. Professionals use an "S-pattern" wipe, starting at the top and snaking down to the bottom. This prevents re-depositing lint.
Don't forget the "overflow" hole in your sink. It’s a dark, damp tunnel that often grows mold and causes weird smells. Pour a little baking soda and vinegar down there to keep it fresh. While you're at it, check out how these techniques translate to other areas in our guide on Kitchen Deep Cleaning for Spotless Homes.
Maintenance Schedules and Common Mistakes to Avoid
Consistency is the enemy of buildup. If you wait until you see mold to clean, you’ve waited too long.
| Frequency | Task | Benefit |
|---|---|---|
| Daily | Squeegee shower, run fan 30 min, wipe sink | Prevents soap scum and mold |
| Weekly | Disinfect toilet, scrub tub, mop floor | Keeps bacteria levels safe |
| Monthly | Descale showerhead, wash curtain liner | Maintains water flow and hygiene |
| Seasonally | Clean exhaust fan, seal grout | Protects home value and air quality |
Common Cleaning Blunders to Avoid
The biggest mistake? Mixing bleach with ammonia or vinegar. This creates toxic gases that are incredibly dangerous in a small, enclosed space like a bathroom. Always read labels.
Another mistake is using abrasive green pads on chrome or glass. They can leave permanent scratches. Stick to non-scratch sponges or microfiber. Lastly, never skip the exhaust fan. If the fan is clogged with dust, moisture stays in the room, and mold will grow, no matter how much you scrub.
Overlooked Spots the Pros Never Miss
If you want your bathroom to truly feel "ninja-clean," look at the spots most people ignore:
- The very back of the toilet base: Dust and "splatter" collect here and cause odors.
- Door frames and light switches: These are high-touch areas that harbor oils and germs.
- The exhaust fan cover: A dusty vent is a fire hazard and a mold-maker.
- The sink stopper: Pull it out once a month to remove the hair and "gunk" that slows your drain.
Frequently Asked Questions about Professional Bathroom Cleaning
How do professionals remove stubborn hard water stains?
We use acidity. White vinegar or citric acid solutions are the best for dissolving calcium and magnesium deposits. For glass doors with heavy "fogging," we sometimes use a razor scraper (held at a 45-degree angle on a wet surface) to gently shave off the mineral crust.
How long should I let cleaning products sit on surfaces?
Standard dwell time is 10 minutes for disinfection. If you are trying to remove heavy soap scum, 15 to 20 minutes is better. Just make sure the surface stays wet; if the cleaner dries, it won't work as well.
Why does my bathroom still smell after a deep clean?
Check three places: the floor around the base of the toilet (urine splatter), the sink overflow hole (mold), and the shower curtain. If you have a fabric curtain, it can trap musty odors. Toss it in the wash with a cup of vinegar to reset it.
Conclusion
Tackling a bathroom like a pro isn't about working harder; it's about working smarter. By following the top-to-bottom, dry-to-wet workflow and respecting "dwell time," you can achieve a level of cleanliness that usually requires a professional team.
At Snow Maids, LLC, we take pride in providing these "squeaky cleanings" to our neighbors in Castle Rock, Parker, Highlands Ranch, and across the Denver Metro Area. We know your time is valuable, and our mission is to give it back to you by handling the deep scrubbing so you can enjoy a healthy, refreshing home.
If you're ready for a total home reset without lifting a finger, explore our options for Deep Cleaning. Whether you're in Littleton, Centennial, or Lone Tree, we’re here to make your space sparkle.
Recent Posts

Customer Testimonials
Read what our happy customers have to say about their experiences and how our products and services have made a difference!
"Katy is always amazing. Next time, however, I would prefer she knock on my office door to let me know she is ready to clean my office before she goes. Thank you!"
Whitney Y.
"Amazed by their service! House looked amazing and immediately planned on scheduling a future cleaning. Estimate process and scheduling was very easy - they were available quickly to do a deep clean. You can tell they put effort into their work and the results showed. Thanks so much for a clean house!"
Emily F.
"Did a deep clean with Snow Maids and it was amazing sight to come home to. Can't wait to have them clean our home regularly to keep up with the day to day grind. Their team did a great job and worth it so much!"
Brandon C.